Home > Electronics > Types of Arduino > Arduino Nano
Arduino Nano
The Arduino is a programmable chip with various inputs and outputs. The inputs can be used to read things like voltage or switches and the outputs can be used to drive external components such as LEDs or a speaker. The chip at the heart of these boards is a "micro-controller" which is just a tiny computer. A microcontroller has a CPU, RAM, and flash storage all built into the chip. The chip itself is fully programmable which means you can write you own program (or "Sketch") to tell it what to do.
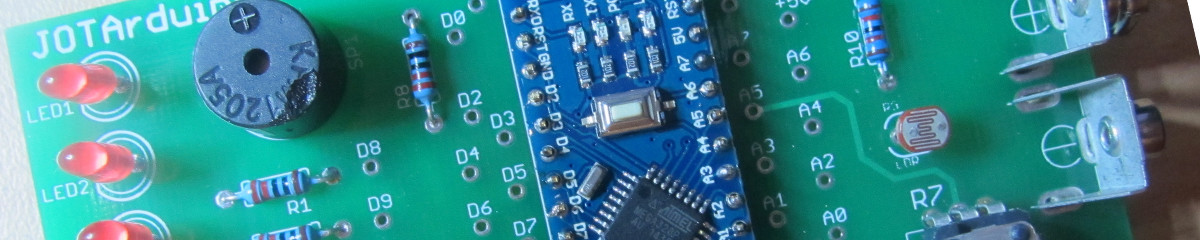
The Arduino Nano is just a very small Arduino board, measuring 44 x 18mm. It still uses the same chip as most Arduino projects, the ATmega328P. It does all the same thing as the other Arduino boards, it's just smaller.


| Arduino Nano Microcontroller | |
|---|---|
| Microcontroller | ATMEL - ATmega328P |
| Operating Voltage | 5 volts |
| Digital I/O Pins | 14 |
| Analog I/O Pins | 8 |
| Max DC Current per I/O Pin | 40 mA |
| Flash Memory | 32 kB |
| CPU Speed | 16 MHz |
What are all those pins for?
The Arduino Nano provides a number of Digital and Analog pins. D0-D13 are the Digital pins, and A0-A7 are the Analog pins.
Digital pins are either ON or OFF - nothing in between. ON=5V, OFF=0V. Likewise it can read a pin's connected input as either ON or OFF.
Analog pins on the other hand can output a variable voltage value. Likewise they can read any input voltage connected up to them. They aren't limited to just ON or OFF logic levels like the digitals.
Generally if you want to turn something on or off, you use digital. If you want to do something more complicated like output or read a variable changing voltage you would use an analog pin.


I Want to Hook It Up To My Computer
The USB port is used to upload programs (or "Sketches") to the chip. A standard USB cable with a micro-usb connector, similar to the one you use on a mobile phone, is required. Once the Arduino software and drivers are installed on your computer you can connect the board via the USB port and upload programs to it from your computer using the freely downloadable Arduino software.
Techo-Tips: For the eagle eyes out there you might have noticed that the digital pins started at D2 (instead of D0). This is because D0 and D1 are the two pins the chip uses to talk to your computer when you've got it hooked up via a USB cable (TX1 and RX2 are actually D0 and D1).
You must disconnect the 9V battery before connecting the USB port to your computer.
The Arduino community website has excellent guides to help you. There are guides for Windows, Apple, and Linux. When following these guides select "Arduino Nano" as the board type at Section 7 and you're good to go.
Click here for a tutorial. Choose your platform, such as Web, Windows, Mac or Linux.
The software guides developed by the Power House Museum, available here, have many small programs that interface to the various devices on the board. You can use these components to make a larger program.
I Want to Use the Arduino Nano in my own circuits
Because the Nano is socket mounted to the JOTA PCB, it's also possible to re-mount the Nano directly onto a breadboard or prototype board. What this means is that you can use it at home as a base in which to build your own projects! Or you can of course just adapt the JOTA program to your own taste.
Need More Help?
Arduino has a massive community behind it on the internet. If you have a question you won't be stuck for long. You're sure to find an answer via a quick search on the internet or post on the Arduino forums at www.arduino.cc.